Holiday Decor: Reversible Thanksgiving Blocks
For this project, I was inspired by this tutorial I found on Pinterest for reversible Thanksgiving and Christmas blocks. I’m a big believer of not trying to reinvent the wheel, so a lot of my projects will be found from other sources. While the tutorial I found had two phrases (“Merry Christmas” and “We Are Blessed”), I decided to keep “Merry Christmas”, but go with “We Are Thankful” instead. Not that we are not blessed because we really are, but I figured thankful went better with Thanksgiving. To see the Christmas blocks, visit this link.

Here were the supplies that I used:
- 1 4×4, cut into 3” long pieces (I had originally planned to make them perfectly square blocks, but I must have blanked out that detail when I was measuring. My 4×4 was actually 3 1/2 x 3 1/2.)
- Sandpaper or sander
- Stain brush
- Paper towels or old rag
- 1 8 oz. can of stain (I used Minwax Dark Walnut)
- Christmas scrapbook paper
- Fall/Thanksgiving scrapbook paper (I used this
set)
- Mod Podge
- Foam sponge brush
- Paint or letter stickers

First, cut the board into 15 cubes. Give them a quick sand with sandpaper or a sander. (With 15 blocks, my quick sand with sandpaper actually took quite a while, so if you have a sander, save your fingers a little trouble.) Wipe each block down with a paper towel to get the remaining wood dust off.
Use your brush to put a coat of stain on the wood. If you want a darker color, let it sit longer. I let mine sit too long and it turned out a little dark for my liking, so keep in mind how dark you want your blocks. Let the pieces dry.
While you’re waiting, cut the scrapbook paper pieces into 3” squares. When the stain is dry, put a light coat of Mod Podge on both the block and the back of the scrapbook paper. Adhere the scrapbook paper to the block, making sure to smooth out all of the bubbles. Let dry for at least 5 minutes.
This is where my steps differed from the tutorial. If you decide to use Cricut-cut letters or letter stickers, this is where you would adhere either of those to the blocks. Unfortunately, I don’t have a Cricut and I couldn’t find a font that I liked for stickers. My solution was to trace the letters onto the blocks. Sound confusing? Not really. Sound like a lot of work? Yes, indeed it was. I printed out letters on the computer, taped them to the blocks and used a pen to trace the letters to make an imprint on the scrapbook paper. This indent was my guide for where to paint. I then filled in the letters with paint. I’d love to tell you what colors I used, but since I mixed my own paint it would be difficult to get the exact same colors. For the Thanksgiving side I used red, orange, and brown.
Finally, give it a last light coat of Mod Podge. Then, put the blocks up for a great Thanksgiving decoration. Add some fall decorations to make it look even more festive.


If you like this, check out my tutorial for the reverse side: Reversible Christmas Blocks.
 Previous Post
 Next Post
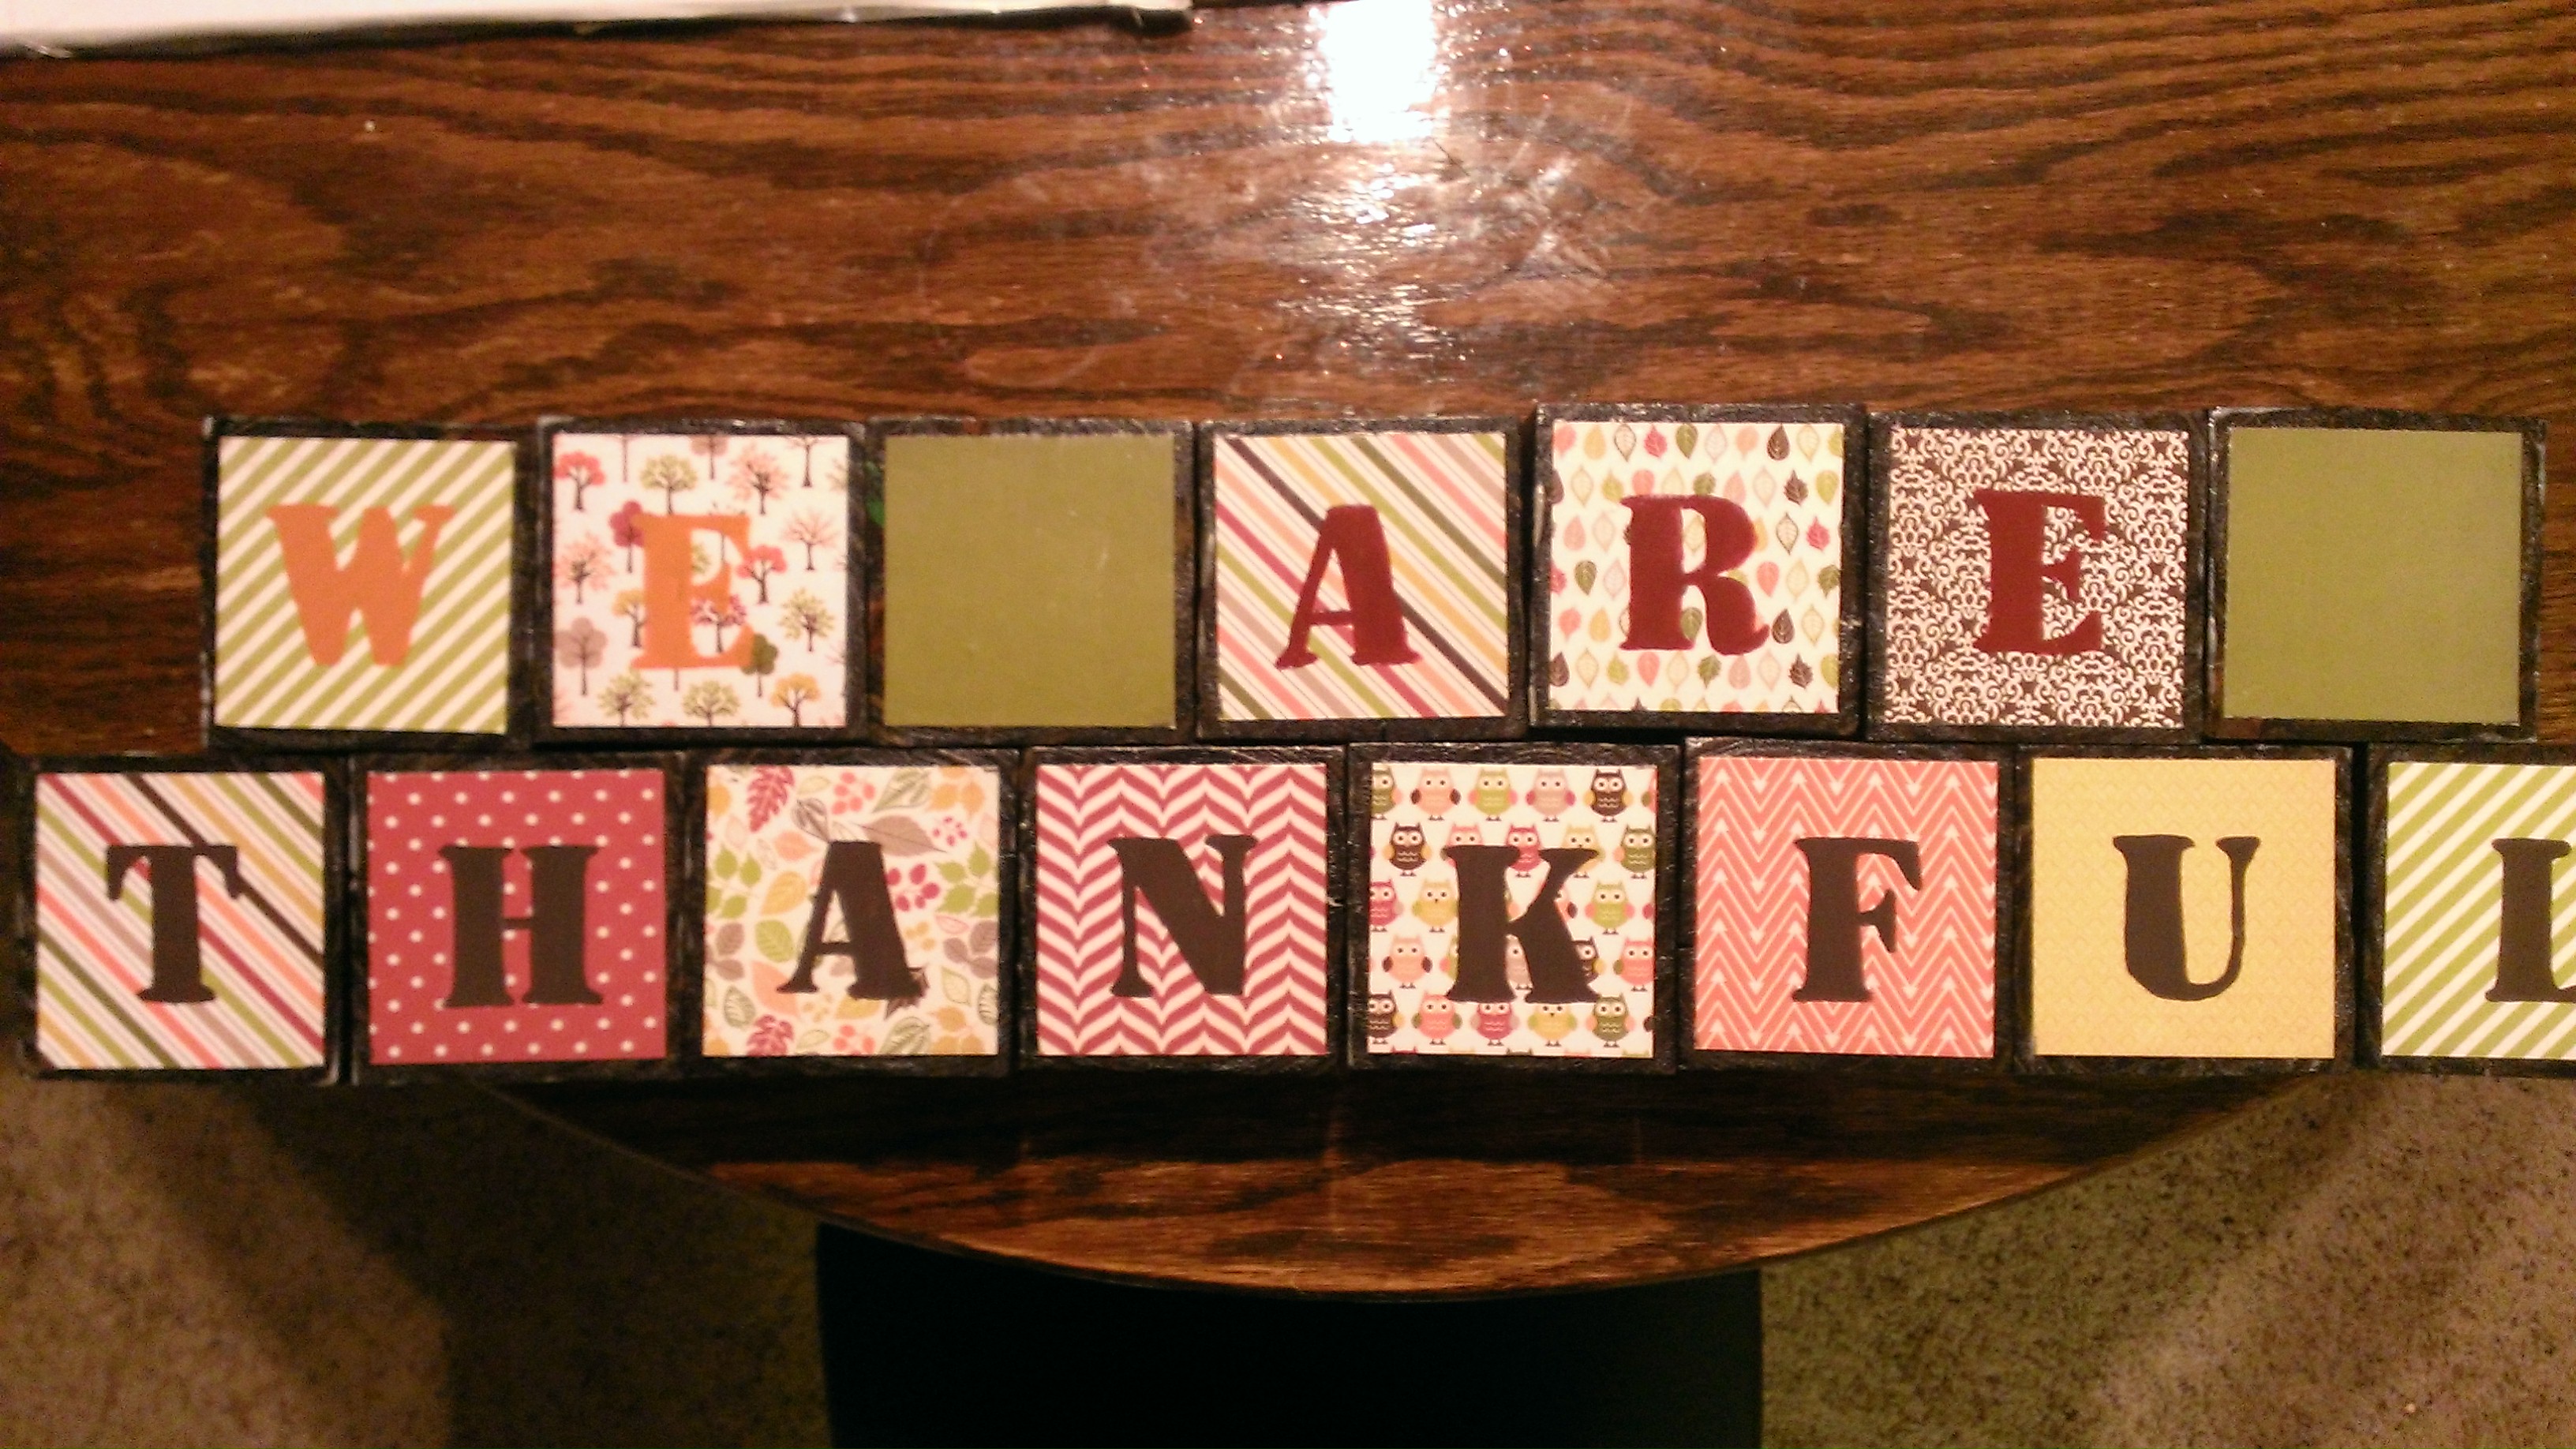